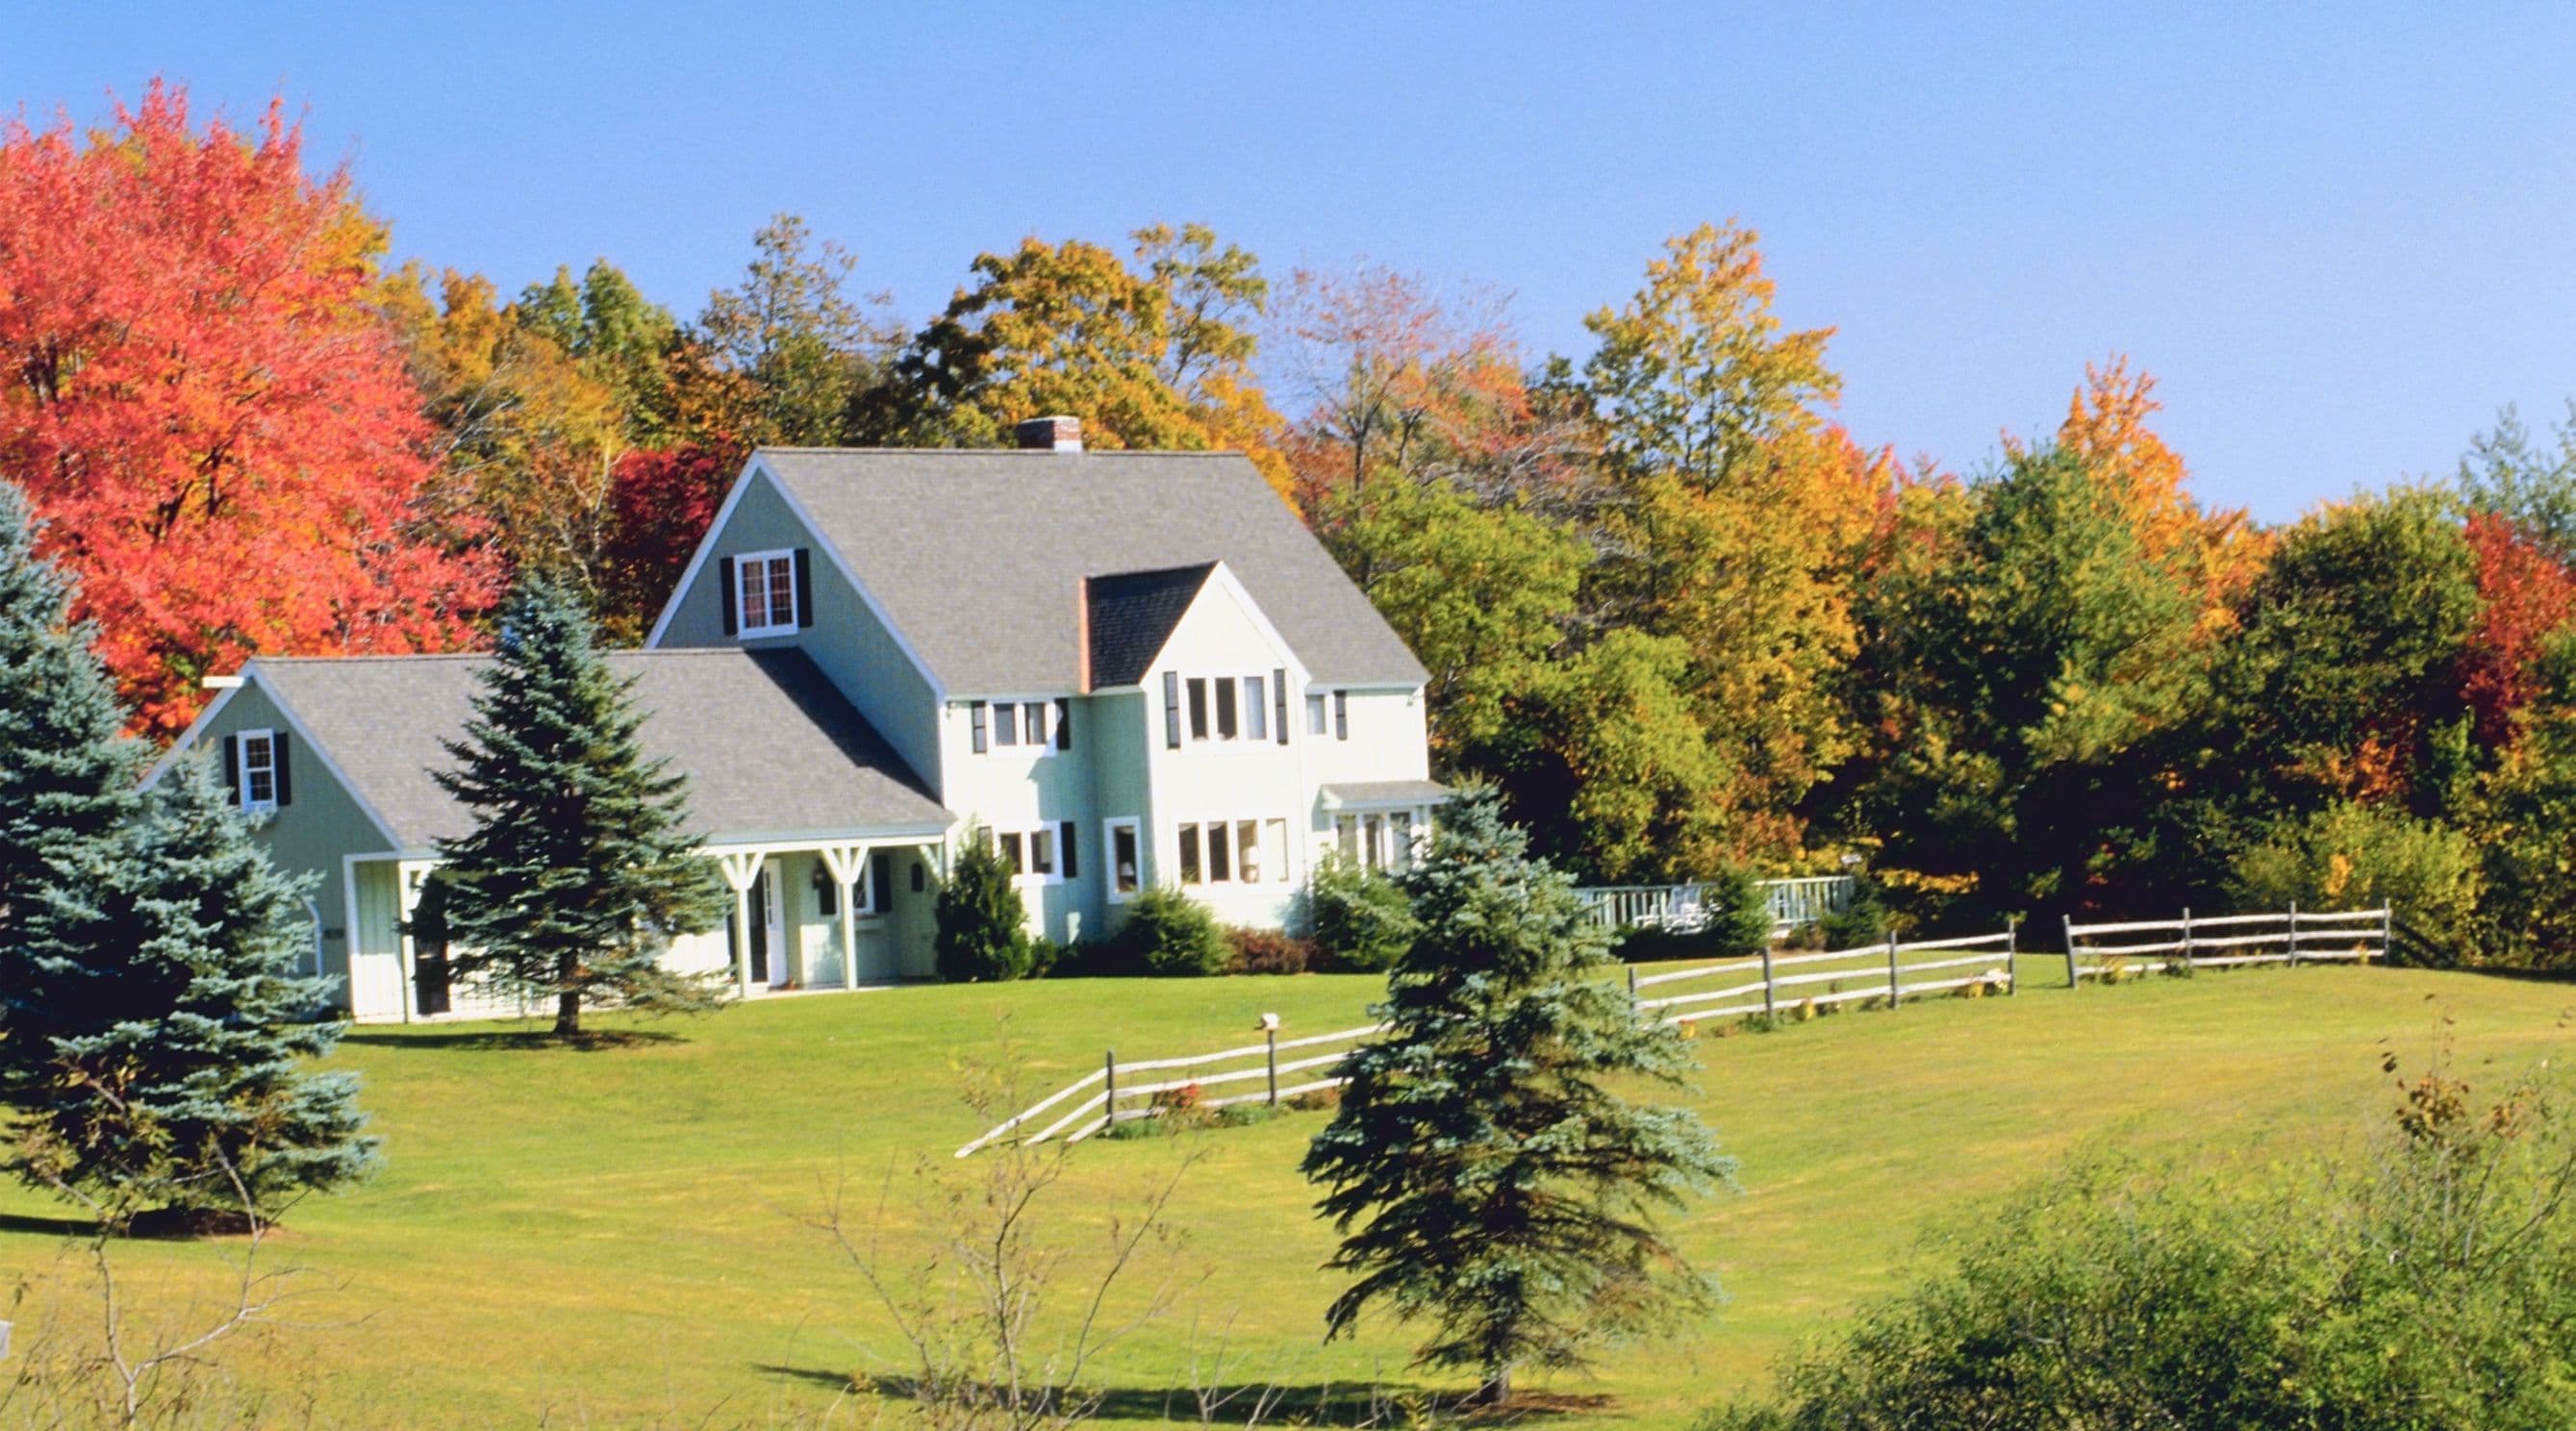
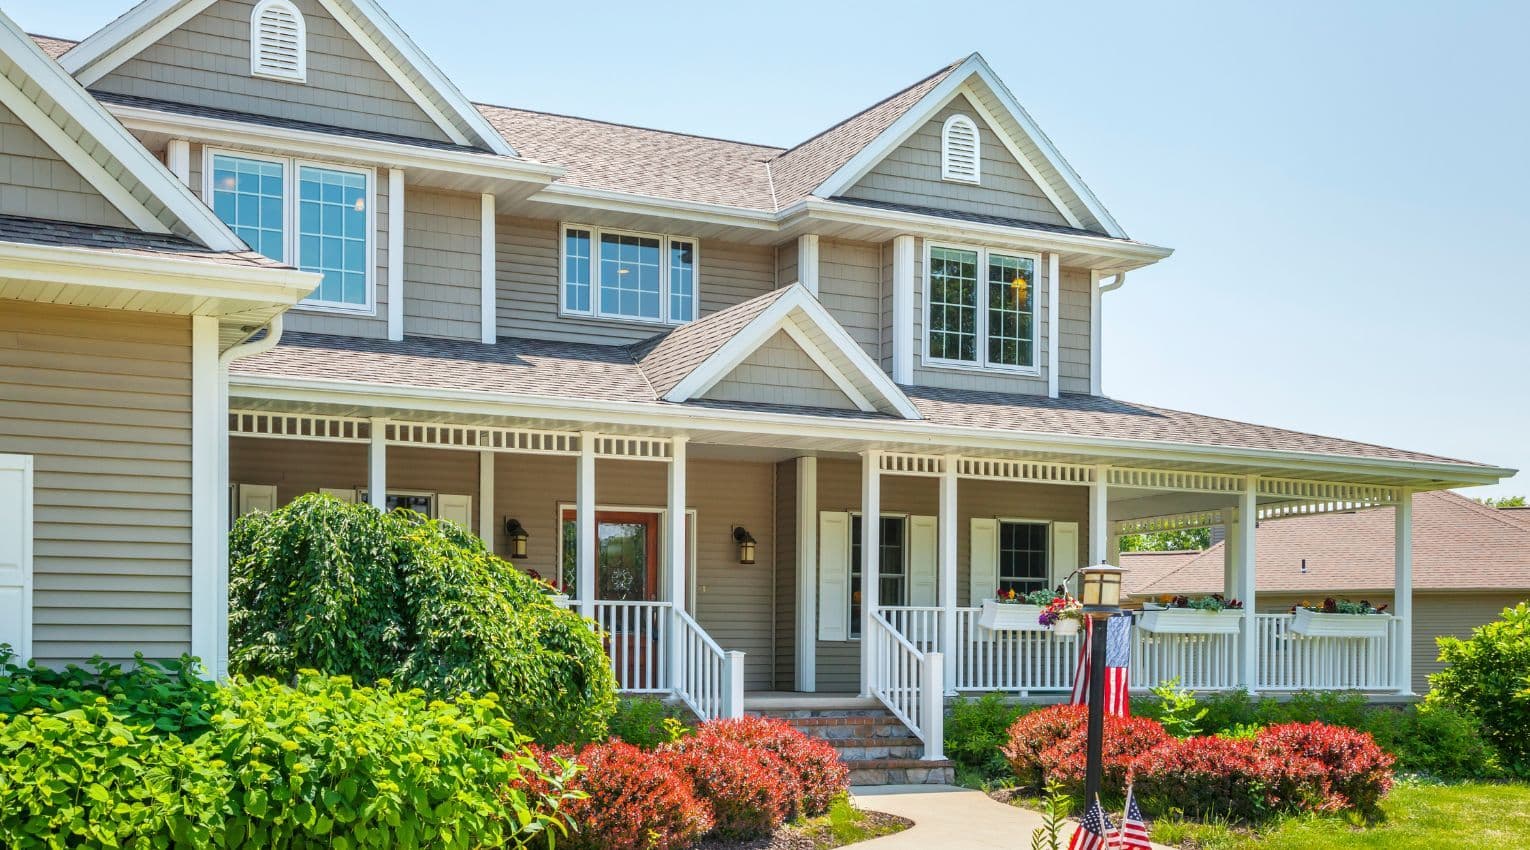
4 Maintenance Projects to Get Your Yard Spring-Ready
Spring is finally here, and summer is fast-approaching. Before it gets too warm to tackle outdoor maintenance projects, let’s head outside and get your yard in shape. We’ve got four outdoor home projects you can knock out in a weekend—and they’ll do more than boost your curb appeal. When you keep at them, these are the kinds of projects that can help prevent unexpected costs from creeping up later. Grab your SPF, and let’s get to it.
1. Patch Your Asphalt Driveway
Spring is the perfect time to patch cracks and holes in your driveway. There’s more than aesthetics to consider for this task: Removing cracks and holes can prevent damage to your vehicle’s tires and undercarriage. It also stops any tripping hazards, protecting you from hospital bills or liability claims.
By filling cracks and holes, you’ll also deter tree roots, weeds, and pests from settling in. Finally, a uniform driveway will increase curb appeal. Driveway patch and fill materials range from $3.50 to $100 at major hardware stores, so this preventive exterior home maintenance activity is a cost-effective way to preserve and protect your home for years to come.
What You’ll Need
- Gloves
- Crack filler
- Gravel or crushed limestone
- Replacement asphalt
- Shovel
- Rake
- Plywood
- Circular saw
- Vehicle
How to Patch Your Driveway
First, inspect your asphalt driveway and take inventory of any cracks and holes so you can gauge how much material you’ll need and how much time you need to dedicate to get it completed.
Second, check the weather forecast before beginning any driveway repair work. If rain is in store, hold off. If you have sun for the next 48 hours, you’re good to go.
Third, remove all loose debris around the cracks and/or holes.
For Holes and Large Cracks: Create a uniform working area around the hole with a circular saw, then clear all unsettled debris. If you’re working at the edge of a driveway, add a wooden board (cut to fit) to define the boundary. Add a layer of gravel or crushed limestone as a base for the new asphalt, then smooth it out and tamp it down so the foundation is level and sturdy. Fill the area with replacement asphalt, then spread it and tamp it so the surface is uniform with the rest of the driveway. Place a layer of plywood on top of the filled hole, then drive over the spot to pack down the fill.
For Small Cracks: Fill driveway cracks less than half an inch wide with crack filler, taking care not to overfill and create a bump in the driveway. If you do overfill, use a shovel to smooth and spread the filler. For driveway cracks wider than half an inch, use the same treatment for driveway holes.
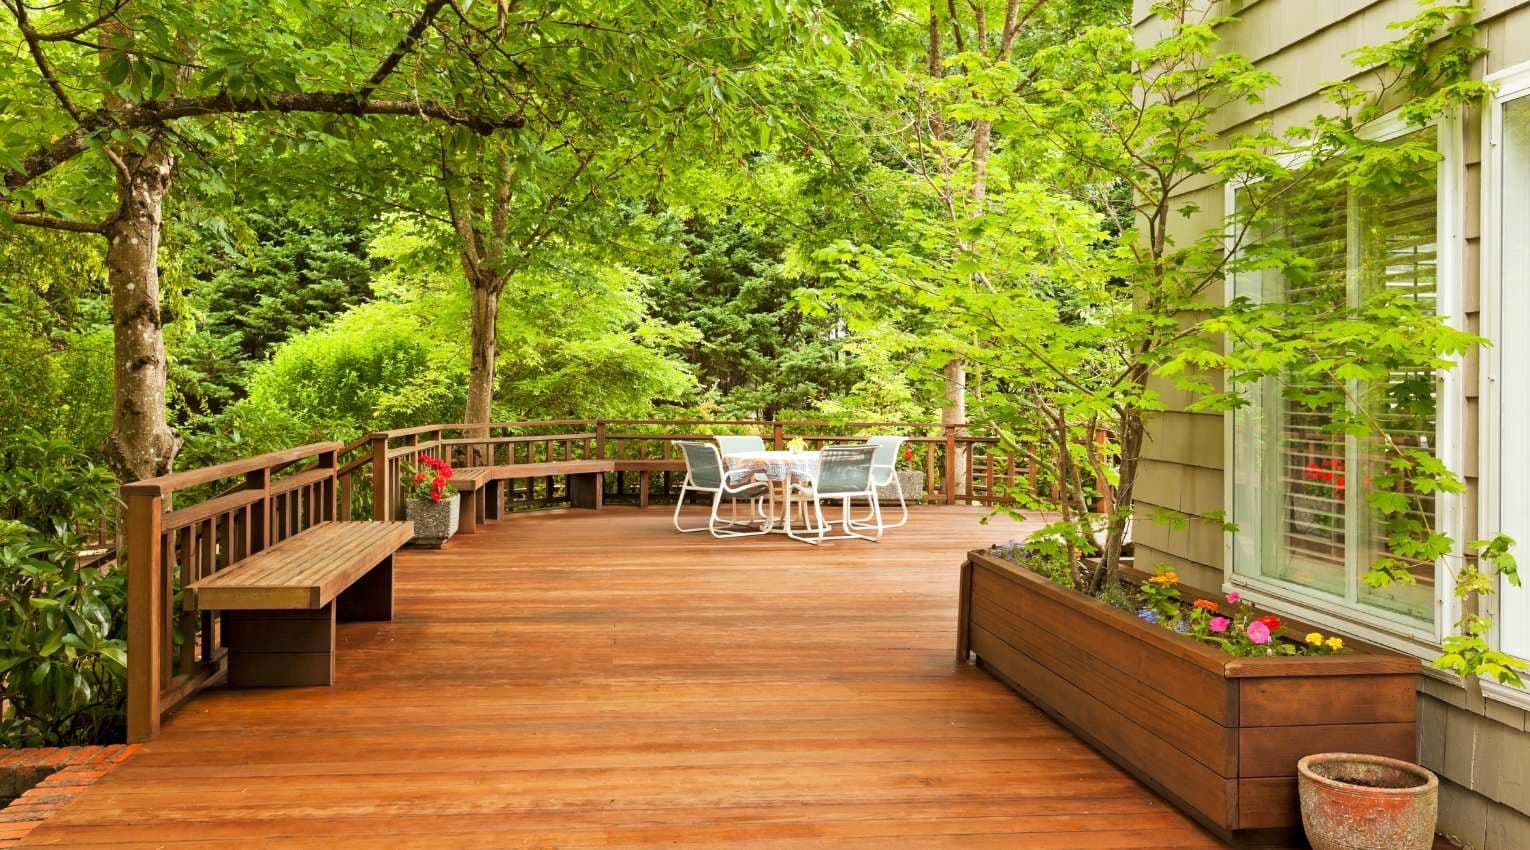
2. Check Your Deck
Take the time to inspect your deck at the start of each spring can help you preserve the integrity and longevity of your entire deck—and save up to $2,500 in new treated lumber boards. It’ll cost you much less time and money to address minor repairs now, so you don’t have to do a full replacement later.
What You’ll Need
- Flathead screwdriver to test cracks and screws
- Caulk to seal minor cracks
- Wood glue or heavy adhesive to secure loose boards or balusters
- Replacement bolts and screws
- Gloves
- Trash bags
- Varnish
- Paint or Stain
How to Inspect Your Deck
Take a walk on and around your deck, looking for both structural and minor problems that need attention. You’ll want to look for damaged wood (e.g., cracks, decay, holes, or rot), as well as loose hardware and signs of pests.
You’ll also want to check the ledger (this is the material that attaches the deck to your house) and your deck’s support beams for any signs of rust or wear. Ensure that there are no gaps between the ledger and the house itself, and confirm all screws are solid and tightly attached. See if any support beams need new reinforcements. Confirm all rails, balusters, and steps are sturdy and secure.
Finally, consider aesthetics: Clear accumulated leaves, branches, and dirt on and around the deck, and decide whether to add new finish or a fresh coat of paint.
Stained decks should get a fresh coat every 2-3 years, and painted decks typically last 8-10 years before they require a fresh coat.
Once you know the scope of your deck repairs, you can determine whether to go DIY or call in a professional.
3. Add New Mulch to Your Landscaping
Mulch definitely fits into the category of nice-to-have. It looks great, but depending on the size of your property and amount of beds, it can be costly to do every year. Aside from the obvious aesthetic benefit, it can provide nutrients to your plants and prevent weed growth when it’s added to your landscaping properly. And if you’re looking to boost your curb appeal, adding mulch is a no-brainer. So let’s get into it.
What You’ll Need
- Mulch
- Wheelbarrow
- Shovel
- Edger
- Rake
- Garden hose
How to Add Mulch to Your Garden or Flower Beds
Select which mulch—organic or inorganic—will work best for your gardens, both from a functional and aesthetic perspective. Organic mulch (compost, wood chips, grass clippings, etc.) provides nutrients to soil and plants, prevents weeds, and protects roots and will need to be replaced every year. Inorganic mulch (gravel, river rock, stones, etc.) can match the color of your home and will have a longer duration than organic mulch, although it may be less effective at preserving your plants.
Once you’ve decided on the mulch type, figure how much you’ll need to cover your landscaping and purchase the correct quantity.
You can find how many cubic yards you need to order by using the following equation: Square footage x desired depth / 324. One bed that’s 1,000 square feet that’s to be covered in one inch of mulch, then, would be 1,000 x 1 / 324 = 3.086, or approximately 3.9 cubic yards of mulch.
Before you begin spreading your mulch, pay attention to the roots of your flowers, trees, and shrubs, in order to remove any weeds and old decomposed mulch from your landscaped areas. Create an edge (e.g., line of stones or recessed line in the soil) around the area to be mulched. Add any new plants to the area (if applicable). Shovel small piles of new mulch into the cleared and edged area, then rake across the surface, aiming for one to two inches of cover across your landscaping in summer, or four inches of cover for winter. Leave an inch of clearance around any tree trunks or plants. Water the new mulched area to settle it, taking care not to overwater.
Keep tabs on the most important home maintenance tasks to do year-round to keep your equity growing, with our Home Equity Increaser guide.

4. Prune Your Plants and Shrubs
This might sound like another nice-to-have, but depending on the location of your plants and shrubs in relation to your home, this maintenance task could be very necessary. Plant growth near your foundation and roof can wreak havoc if left unchecked. Pruning also discourages vermin from building nests in your shrubbery. And yes, it increases overall curb appeal. When to prune what really depends on your region and the types of plants you’re dealing with, so certainly do your own research, but as a general guideline, pruning should take place in early spring before new growth begins, and should be avoided during extreme bouts of heat or cold, as plants are already stressed during these periods.
What You’ll Need
- The Basics
- Pruning shears
- Loppers
- Eye protection
- Work gloves
- Heavy-duty trash bags
You May Also Want:
- Pruning saws or hedge trimmers
- Hedge shears
- Pole pruners
How to Prune Your Plants and Bushes
Cut back areas where your hedges are overgrown, unshapely, or extending onto your neighbor’s property. Clear areas where greenery is encroaching on your home’s foundation and/or roof as well as near sidewalks or your driveway.
Pole pruners can be a great tool for trimming higher, hard-to-reach branches that are encroaching your roof, gutters, or windows.
You can plan on pruning yourself or hiring a landscaper. If you go the DIY route, it’s a good idea to try to work in the morning or evening to avoid summer sun and midday heat.
Now for the most important task. Your maintenance projects are done. You’ve got a smooth driveway, a solid deck, freshly-mulched flower beds, and hedges that are putting your neighbor’s shrubs to shame. It’s time to sit back and enjoy your hard work.
The more you know about your home equity, the better decisions you can make about what to do with it. Do you know how much equity you have in your home? The Home Equity Dashboard makes it easy to find out.
You should know
We do our best to make sure that the information in this post is as accurate as possible as of the date it is published, but things change quickly sometimes. Hometap does not endorse or monitor any linked websites. Individual situations differ, so consult your own finance, tax or legal professional to determine what makes sense for you.